
Type
118 games · A–Z
No guides match those filters. Try a shorter search or another type.
Mortal Shell II video guides
Written routes with the matching video walkthrough, for the game this site started with.

Shells
All Shell locations
The starting Beacon for every Shell
Read guide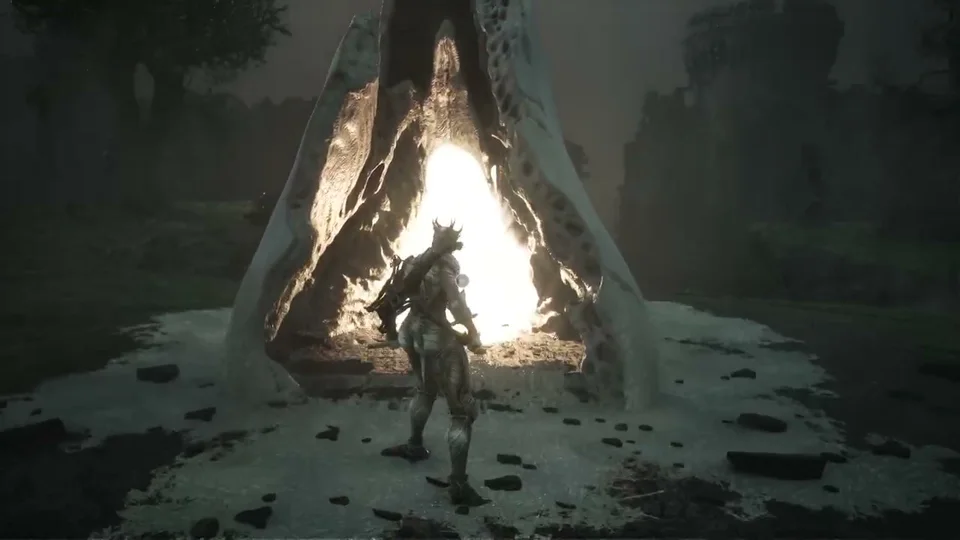
Exploration
How to fast travel
Use Beacons to get back across the world
Read guide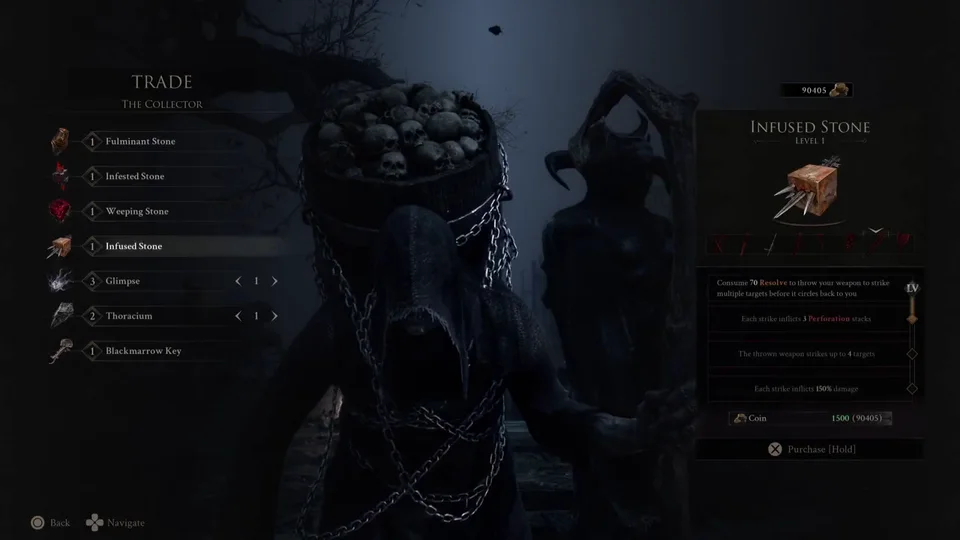
Merchants
Find the Night Vendor
The Collector’s location after night falls
Read guide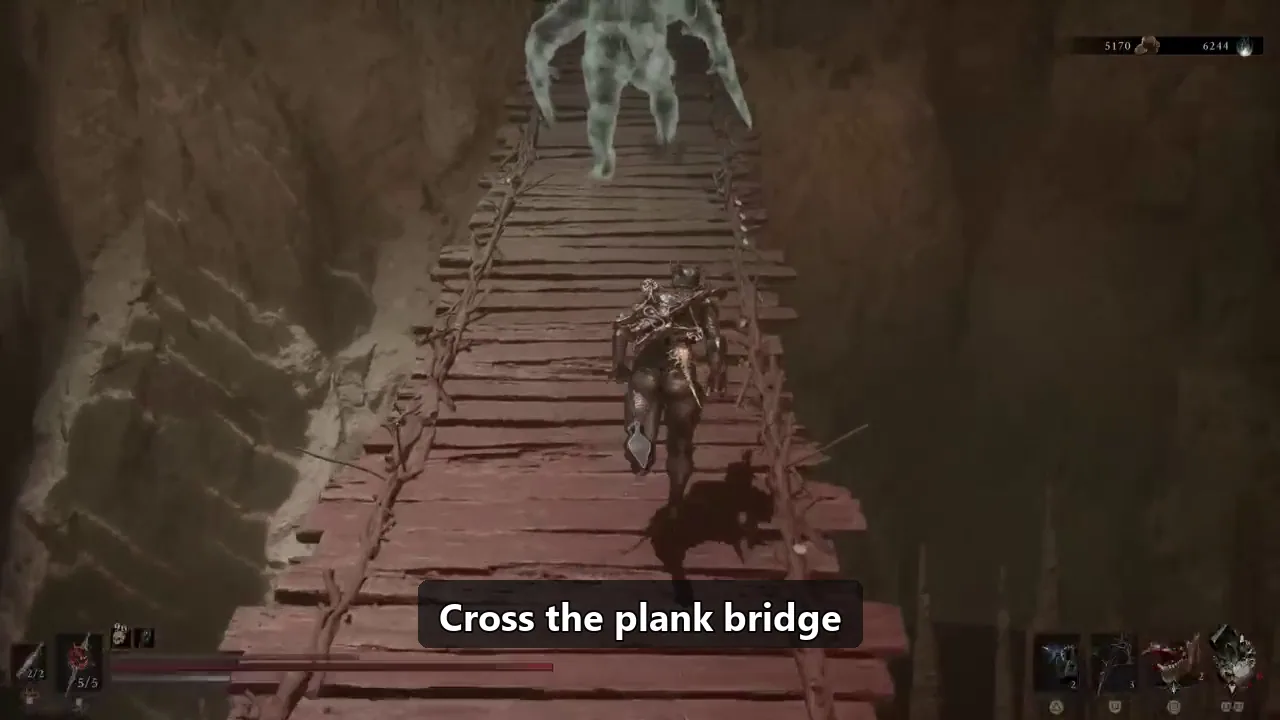
Tarstones
Find Blackblood Stone
Cross Mawbreak Cavern to the Tarstone chest
Read guide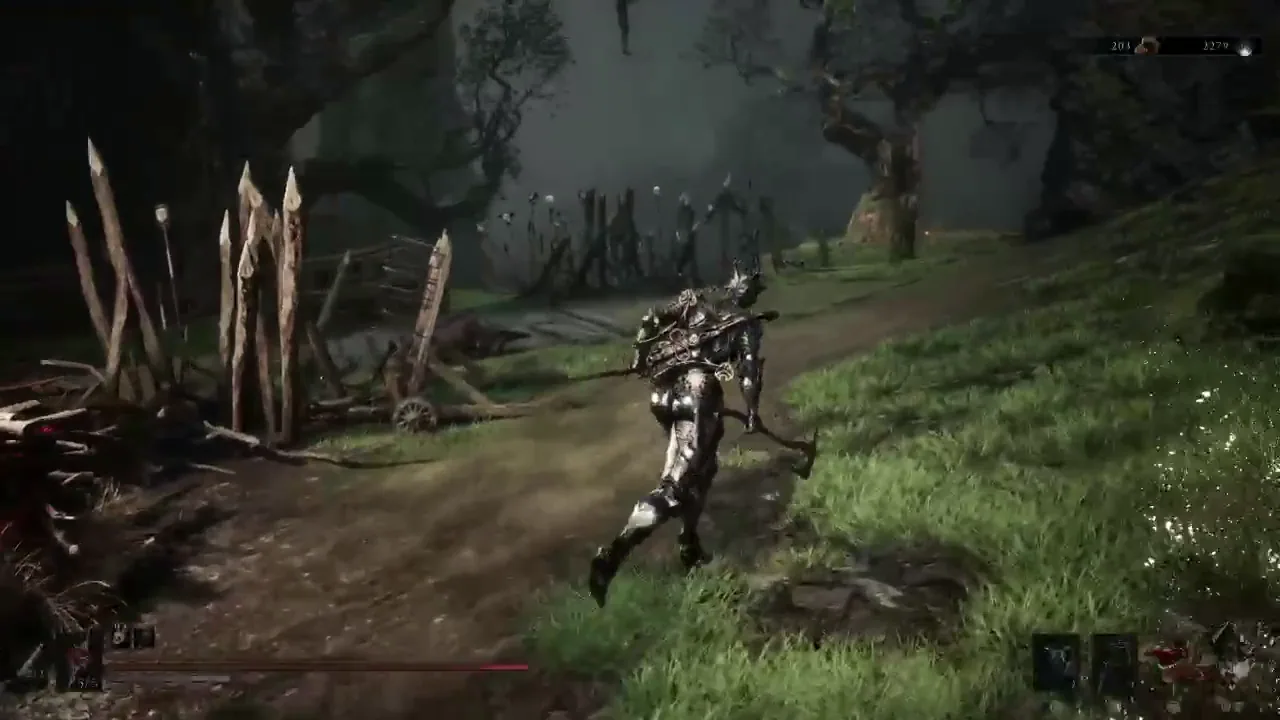
Upgrades
Find Foundry Stone
Unlock equipment upgrade refunds at the Tarforge
Read guide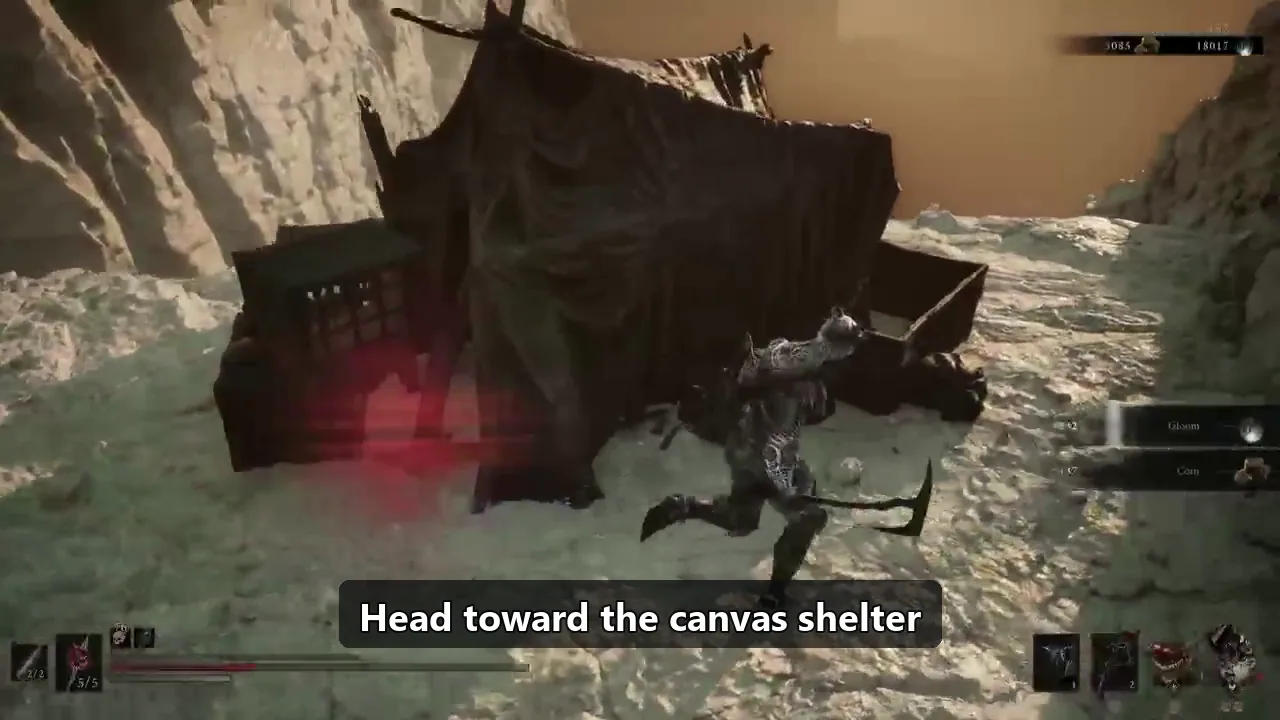
Tarstones
Find Deadeye Stone
Search the camp by the Sanguine Caverns entrance
Read guide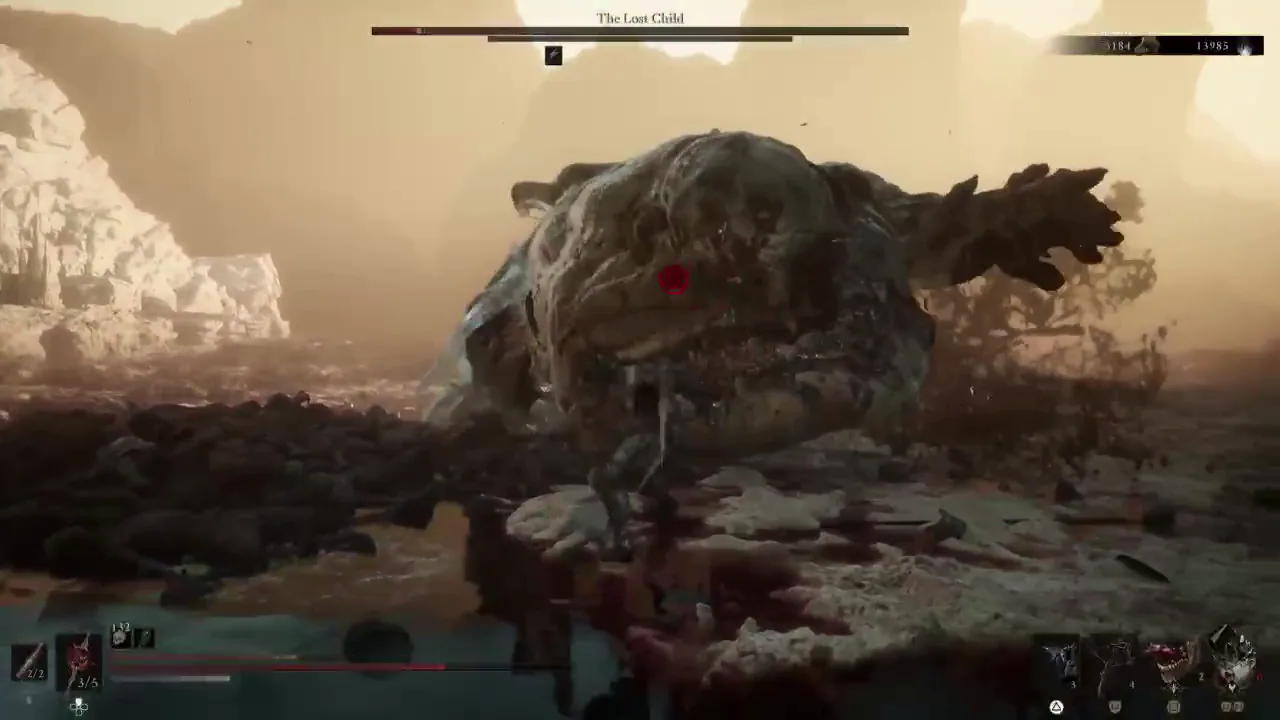
Tarstones
Find Lost Clotstone
Beat The Lost Child and use its weapon-throw reward
Read guide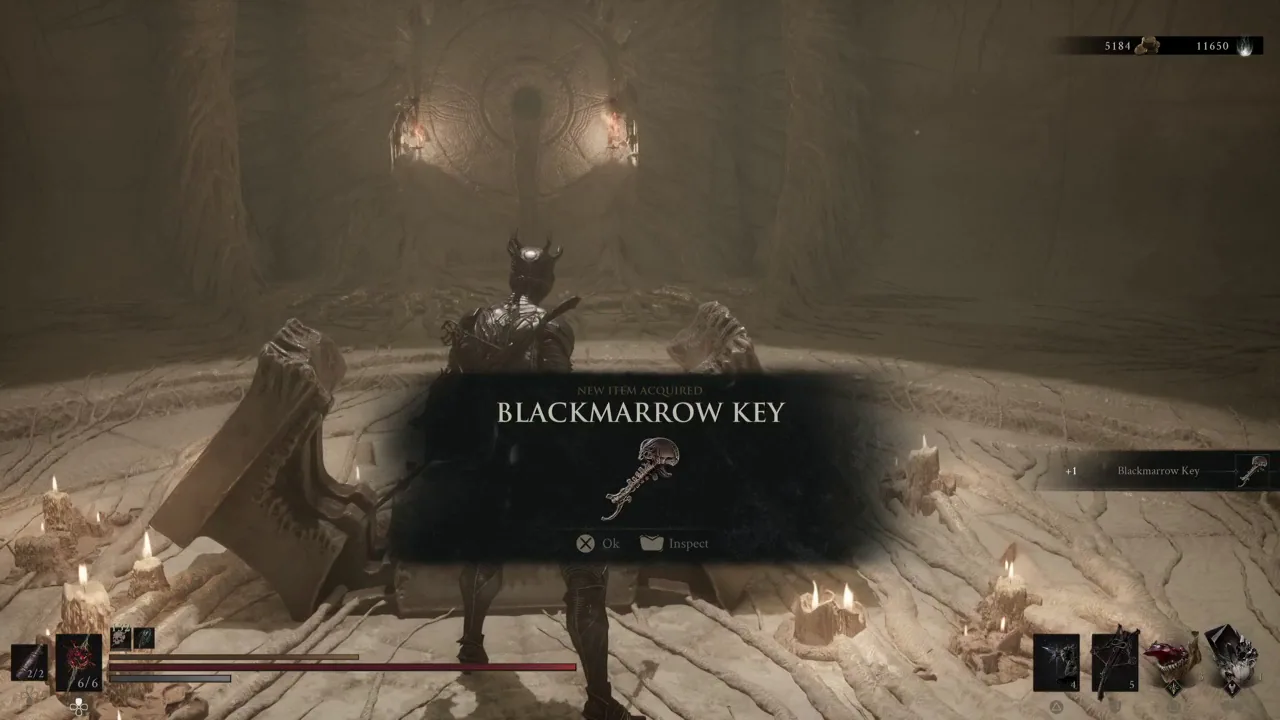
Items
Blackmarrow Key at Child’s Feeding Grounds
Find the chest behind the Ova
Read guideBaldur’s Gate 3
- Baldur’s Gate 3 Act One Route: Grove, Underdark and Mountain Pass
- Baldur’s Gate 3: Adamantine Forge, Mithral Ore and Grym
- Baldur’s Gate 3: Get Auntie Ethel’s Hair and Save Mayrina
- Baldur’s Gate 3: Get Awakened From the Zaith’isk
- Baldur’s Gate 3: Get the Blood of Lathander Without Destroying the Crèche
- Build a Party You Can Actually Run
- Baldur’s Gate 3 Classes: Choose a Role for Your First Build
- Baldur’s Gate 3 Combat: Actions, Initiative and Concentration
- Baldur’s Gate 3 Early Companions: Where to Recruit Your Party
- Baldur’s Gate 3 Beginner Guide: Your First Party and First Decisions
- Baldur’s Gate 3: Buy and Use the Gloves of Dexterity
- Baldur’s Gate 3: Necromancy of Thay in Act One
- Baldur’s Gate 3: Recruit the Owlbear Cub Without Playing Chicken Chase
- Baldur’s Gate 3: Rescue Volo and Decide About His Eye Surgery
- Baldur’s Gate 3 Resting: Short Rests, Supplies and Timed Quests
- Baldur’s Gate 3: Save Arabella and Get Komira’s Locket
- Baldur’s Gate 3: Recruit Scratch and Get His Familiar
- Baldur’s Gate 3: Find Shovel’s Scroll and Learn the Wizard Summon
- Baldur’s Gate 3: Forge a Sussur Weapon
- Treat Companion Trust as a Resource
- Use Verticality and the World as a Tool
- Baldur’s Gate 3 Equipment: Weapon Proficiency and Armour Class
- Baldur’s Gate 3 Withers: Dank Crypt Route and Respec Costs
Dark Souls
- Dark Souls Remastered: Andre and Embers
- Dark Souls Remastered: Asylum and Taurus Demon
- Dark Souls Remastered: Base-Game Progression
- Dark Souls Remastered: Bell Gargoyles
- Dark Souls Remastered: Capra Demon
- Dark Souls Remastered: Covenants and New Game Plus
- Dark Souls Remastered: Gaping Dragon
- Dark Souls Remastered: Getting Started
- Dark Souls Remastered: Humanity and Kindling
- Dark Souls Remastered: Lautrec and Firelink
- Dark Souls Remastered: Chaos Witch Quelaag
- Dark Souls Remastered: Weapon Upgrades
Dark Souls II
- Dark Souls II Scholar: Agility and Adaptability
- Dark Souls II Scholar: Base-Game Progression
- Dark Souls II Scholar: Builds and Respec
- Dark Souls II Scholar: Covenants and Online
- Dark Souls II Scholar: Dragonrider and Heide
- Dark Souls II Scholar: Flexile Sentry
- Dark Souls II Scholar: Getting Started
- Dark Souls II Scholar: Last Giant and Pursuer
- Dark Souls II Scholar: Lost Sinner
- Dark Souls II Scholar: Majula Services
- Dark Souls II Scholar: Ruin Sentinels
- Dark Souls II Scholar: Weapon Upgrades
Dark Souls III
- Dark Souls III: Abyss Watchers
- Dark Souls III: Andre, Coals and Infusions
- Dark Souls III: Base-Game Progression
- Dark Souls III: Boss Progression
- Dark Souls III: Covenants and Invasions
- Dark Souls III: Crystal Sage
- Dark Souls III: Curse-Rotted Greatwood
- Dark Souls III: Deacons of the Deep
- Dark Souls III: Endings and New Game Plus
- Dark Souls III: Firelink Services
- Dark Souls III: Getting Started
- Dark Souls III: Iudex Gundyr and Vordt
- Dark Souls III: Weapon Upgrades
Demon’s Souls
- Demon's Souls PS5: Archstone Route
- Demon's Souls PS5: Armor Spider
- Demon's Souls PS5: Attributes and Equipment
- Demon's Souls PS5: Base-Game Progression
- Demon's Souls PS5: Blacksmith Ed and Upgrades
- Demon's Souls PS5: Flamelurker
- Demon's Souls PS5: Fool's Idol
- Demon's Souls PS5: Getting Started
- Demon's Souls PS5: Co-op and Invasions
- Demon's Souls PS5: Phalanx Strategy
- Demon's Souls PS5: Tower Knight Strategy
- Demon's Souls PS5: World Tendency
DREDGE
- DREDGE A Place to Rest Guide: Steel Point Builder Route
- DREDGE Abyssal and Hadal Gear Guide: Deep Fishing Without a Bad Refit
- DREDGE Best Before Guide: Rotting Conger Eel for Ingfell
- DREDGE Books Guide: Every Passive Bonus and Unlock Route
- DREDGE Castaway Pursuit Guide: L11 Rescue and Signet Ring
- DREDGE Caught to Order Guide: Every Fishmonger Request
- DREDGE Craven Courier Guide: I10 Package Delivery and Book
- DREDGE Devil's Spine Fish Guide: Volcanic Water, Night Catches and Coelacanth
- DREDGE Devil's Spine Pursuits Guide: Flames of the Deep and the Watch
- DREDGE Endings Guide: How to See Both Base-Game Outcomes
- DREDGE Packed Explosives Guide: Unlocking and Clearing Blocked Routes
- DREDGE Four Fish Shrines Guide: Cod, Crab, Shark, and Aberration Solutions
- DREDGE Gale Cliffs Fish Guide: Coastal Catches, Crab Pots and Oarfish
- DREDGE Gale Cliffs Pursuits Guide: Hermitage, Explosives, and the Music Box
- DREDGE Getting Started Guide: Your First Days in The Marrows
- DREDGE Hooded Figures Guide: Fish Requests, Books, and Current Rules
- DREDGE Iron Rig Fish and Refining Guide: Infused Gear, Contamination and Foundry
- DREDGE The Iron Rig Guide: Facilities, Strange Specimens and DLC Route
- DREDGE Lost at Sea Guide: Bronze Belt Buckle at Little Marrow
- DREDGE Main Pursuits Route: Relics, Regions, and the Collector
- DREDGE Marrows Fish Guide: Day, Night, Rod, Net and Pot Catches
- DREDGE The Marrows Pursuits Guide: First Jobs and Useful Detours
- DREDGE Night Fishing and Panic Guide: Stay Useful After Dark
- DREDGE Pale Reach Fish Guide: Ice Habitat, Nets, Pots and Ice Blocks
- DREDGE The Pale Reach Guide: Icebreaker, Under the Ice and Rewards
- DREDGE Recording Rarities Guide: Four Exotic Fish and Research Parts
- DREDGE Regions and Fishing Types Guide: Where to Take Your Next Catch
- DREDGE Research Parts Guide: What to Unlock First
- DREDGE Ship Upgrades Guide: Hull Slots, Gear, and Better Routes
- DREDGE Stellar Basin Fish Guide: Deep Catches, Pots and Gulper Eel
- DREDGE Stellar Basin Pursuits Guide: Research Assistant and the Ring
- DREDGE Stone Tablets Guide: Ancient Lighthouse and Flame of the Sky
- DREDGE Twisted Strand Fish Guide: Mangrove, Night Fish and Tigerfish
- DREDGE Twisted Strand Pursuits Guide: The Bitter End and the Necklace
Elden Ring
- Elden Ring: Academy Glintstone Key Route
- Elden Ring: Iron Fist Alexander Quest and Shard of Alexander
- Elden Ring Armor
- Elden Ring: Apply Ashes of War and Choose an Affinity
- Elden Ring Attributes and Soft Caps
- Elden Ring: Black Knife Tiche Location and Alecto Route
- Elden Ring: Bloodhound's Fang Location and Early Upgrade Path
- Elden Ring Boss Order
- Elden Ring Bosses
- Elden Ring Builds
- Elden Ring Classes
- Elden Ring Combat Guide
- Elden Ring Controls
- Elden Ring: Dectus Medallion Locations and Grand Lift Route
- Elden Ring Enemies
- Elden Ring FAQs
- How to fast travel
- Elden Ring: Flask Upgrades and Wondrous Physick
- Elden Ring: How to Remove the Frenzied Flame
- Elden Ring Game Progress Route
- Elden Ring: Getting Started
- Elden Ring: Godrick the Grafted Strategy
- Elden Ring: Great Runes and Remembrances
- Elden Ring Items and Consumables
- Elden Ring Legacy Dungeons
- Elden Ring Leveling and Runes
- Elden Ring: A Useful First Limgrave Route
- Elden Ring Lore
- Elden Ring: Malenia Strategy for Waterfowl Dance and Phase Two
- Elden Ring Map and Locations
- Elden Ring: Margit the Fell Omen Strategy
- Elden Ring Merchants
- Elden Ring: Millicent Quest, Prosthesis, and Final Choice
- Elden Ring: Mimic Tear Ashes Location in Nokron
- Elden Ring: Nepheli Loux Quest and Ancient Dragon Smithing Stone
- Elden Ring New Player Help
- Elden Ring NPCs and Quests
- Elden Ring Patch Notes
- Elden Ring: Pouches, Quick Items, and Crafting
- Elden Ring: Ranni Quest Walkthrough
- Elden Ring: Red Wolf of Radagon Strategy
- Elden Ring Regions
- Elden Ring: Rennala, Queen of the Full Moon Strategy
- How to respec your character
- Elden Ring: Sorceress Sellen Quest Walkthrough
- Elden Ring: How to Enter Shadow of the Erdtree and Use Its First Blessings
- Elden Ring Shields
- Elden Ring: Sorcery and Incantations Basics
- Elden Ring: Spirit Ashes and Summoning
- Elden Ring: Starscourge Radahn Festival Strategy
- Elden Ring Status Effects
- Elden Ring Talismans
- How to get Torrent
- Elden Ring Trophy and Achievement Guide
- Elden Ring Walkthrough
- Elden Ring: Weapon Upgrades
- Elden Ring Weapons
Elden Ring Nightreign
- Elden Ring Nightreign: Co-op, Duos, and Revival Basics
- Elden Ring Nightreign: How to Unlock Duchess
- Elden Ring Nightreign: First Expedition Guide
- Elden Ring Nightreign: Gladius, Beast of Night Guide
- Elden Ring Nightreign: Which Nightfarer Should You Pick?
- Elden Ring Nightreign: Relics and Vessels Explained
- Elden Ring Nightreign: How to Unlock Revenant
- Elden Ring Nightreign: Weapons, Passives, and Upgrades
Hollow Knight: Silksong
- How to Beat Bell Beast in Hollow Knight: Silksong
- Hollow Knight: Silksong Bellway Locations and Prices
- How to Get Drifter's Cloak in Hollow Knight: Silksong
- Hollow Knight: Silksong Beginner Guide: Moss Grotto to Bone Bottom
- Hollow Knight: Silksong Maps, Benches and Bellways Guide
- How to Beat Moss Mother in Hollow Knight: Silksong
- Hollow Knight: Silksong Tools Guide: Equip, Use and Refill
- Hollow Knight: Silksong Combat Guide: Silk, Bind and Safe Punishes
- How to Get Swift Step in Hollow Knight: Silksong
Lords of the Fallen
- Lords of the Fallen (2023): Axiom and Umbral
- Lords of the Fallen: Co-op and Invasions Basics
- Lords of the Fallen: First-Hours Progression
- Lords of the Fallen (2023): Getting Started
- Lords of the Fallen: NPC Quest Habits
- Lords of the Fallen: Pieta Boss Strategy
- Lords of the Fallen: Skyrest Bridge Services
- Lords of the Fallen (2023): Vestiges and Seedlings
- Lords of the Fallen: Weapon Upgrades and Runes
Monster Hunter Wilds
- Monster Hunter Wilds: Armor, Crafting, and Upgrades
- Monster Hunter Wilds: Chatacabra Hunt Guide
- Monster Hunter Wilds: Doshaguma Hunt Guide
- Monster Hunter Wilds: Focus Mode and Wounds
- Monster Hunter Wilds: Getting Started
- Monster Hunter Wilds: Multiplayer and Support Hunters
- Monster Hunter Wilds Pop-up Camps: Setup, Safety, Repairs, and Fast Travel
- Monster Hunter Wilds: Quest Progression and Preparation
- Monster Hunter Wilds: Traps and Captures
- Monster Hunter Wilds: Choose Your First Weapon
Sekiro: Shadows Die Twice
- Sekiro Deflection and Perilous Attacks Guide: Read the Attack, Then Counter
- Sekiro: Divine Dragon Boss Guide
- Sekiro: Folding Screen Monkeys Puzzle Guide
- Sekiro: Genichiro Ashina Boss Guide
- Sekiro Getting Started Guide: Learn the Fight Before You Grind
- Sekiro Early Gourd Seeds and Prayer Beads Guide: Heal More and Build Posture
- Sekiro: Great Shinobi Owl Boss Guide
- Sekiro: Guardian Ape Boss Guide
- Sekiro Gyoubu Masataka Oniwa Guide: Horse Boss Timing and Openings
- Sekiro: Headless Ape Rematch Guide
- Sekiro Lady Butterfly Guide: Hirata Estate Phase Control and Illusions
- Sekiro Progression and Endings Guide: Major Route Forks and Lockouts
- Sekiro Prosthetic Tools Guide: Early Routes, Slots, and Better Uses
- Sekiro Skills and Mikiri Counter Guide: First Points That Change Fights
Valheim
- Valheim Beehives: Find a Queen Bee, Make Honey, and Fix the Space Warning
- Valheim Copper, Tin, and Bronze Guide: First Black Forest Metal Route
- Valheim Death and Corpse Recovery Guide: Recover a Grave Without Feeding the Loop
- Valheim Eikthyr Guide: Two Deer Trophies, First Boss, and Antler Pickaxe
- Valheim Food and Rested Guide: Health, Stamina, and Comfort Before a Fight
- Valheim Getting Started Guide: Your First Meadows Base and Eikthyr Route
- Valheim Mead Guide: Build the Ketill, Ferment a Base, and Use Healing Mead
- Valheim Portals and Metal Guide: Tags, Return Routes, and Ore Transport
- Returning to Valheim: Old Worlds, Achievements and Crossplay
- Valheim The Elder Guide: Ancient Seeds, Black Forest Fight, and Swamp Key
- Valheim Workbench and Repairs Guide: Shelter, Upgrades, and Free Fixes





































































































No games match those filters.