
Capture Warfare Objectives and Keep Your Squad Fighting
On this page
In Warfare’s Attack and Defend, help your squad control the active capture area. Shooting from a nearby roof may support the fight, but someone still needs to take the ground. Start each deployment by checking your side, the active sector and the objective markers. Attack and Defend sector changes
Get inside the objective fight
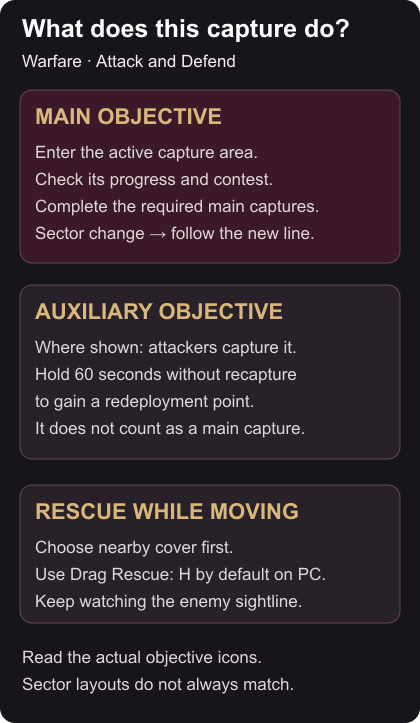
On attack, move with teammates into the highlighted capture area and watch its progress indicator. Find cover within that area where possible. If progress stalls, check whether you are inside its boundary and whether enemies are contesting it. Do not assume a nearby kill has captured anything.
On defence, watch which active area is under pressure. Hold an angle that helps teammates contest it, and move when your position no longer protects the objective. When the sector changes, follow the retreat prompt and prepare at the next active line. Staying behind to chase one enemy can leave the next fight short of help.
Read every required main-objective icon. Sector layouts differ; the game does not always give you two capture points. Objective layout changes
An auxiliary objective has a different purpose. Where one is present, attackers can gain a redeployment point by capturing it and holding it for 60 seconds without a defender recapture. It does not count towards the sector’s main capture requirement. Use it to support the approach while keeping the main objectives in view. Auxiliary objective rules
Give your class a useful job
Choose a tool you understand that helps with the problem in front of your squad.
| Class | Tool or strength | A useful next action |
|---|---|---|
| Assault | Faster movement while aiming | Join the push when teammates are ready to cross. |
| Support | Faster ally rescue | Help recover a teammate while another watches the threat. |
| Engineer | Welding gun for cutting and repair | Use the tool where a repair helps your team’s advance. |
| Recon | Enemy information | Share what your gadget reveals before the squad enters. |
For a concrete Support option, Stinger’s Hive-Tech Pistol heals allies. Equip it, aim down sights at the teammate you want to lock onto and fire. His Hive-Tech Smoke Grenade can also provide healing when its smoke is hit by the pistol. Those are Stinger’s tools, so read a different Support Operator’s kit before expecting the same actions. Stinger’s abilities
Move a rescue towards cover
All Warfare Operators can use Drag Rescue. Near a downed teammate, use the displayed interaction; its default PC binding is H, and you can change it in controls. You can drag the teammate while rescuing them. Drag Rescue controls
Choose nearby cover before starting. If an enemy is watching the casualty, have a teammate address that sightline first. Dragging gives you movement during the rescue; it does not make an exposed approach safe. Smoke can interrupt vision, but it cannot stop bullets.
If repeated pushes fail, identify where the shots come from and agree on a different entrance or piece of cover. Before deploying again, check where allies are gathering so you can join their attempt.
Use the first-session guide to prepare your controls. If you switch modes, follow the Operations extraction and equipment guide; ordinary Operations squads do not receive Warfare’s Drag Rescue action by default.