
V4mp

Explore V4mp

Movies and TV are on the way. They are not open yet.

Find your next route. Get back to playing.

Hollow Knight: SilksongV4mp Wiki
Base game

Hollow Knight: Silksong Bellway Locations and Prices

This page includes story or boss spoilers.

On this page

Use the network map to choose the right area

Bellways open after the Bell Beast is freed and defeated at The Marrow. A station only becomes usable after you reach it; most later stops also need a one-time Rosary payment at the toll machine. The red rings on this full network map mark the twelve documented Bellway stations. Open the image to inspect the whole map.
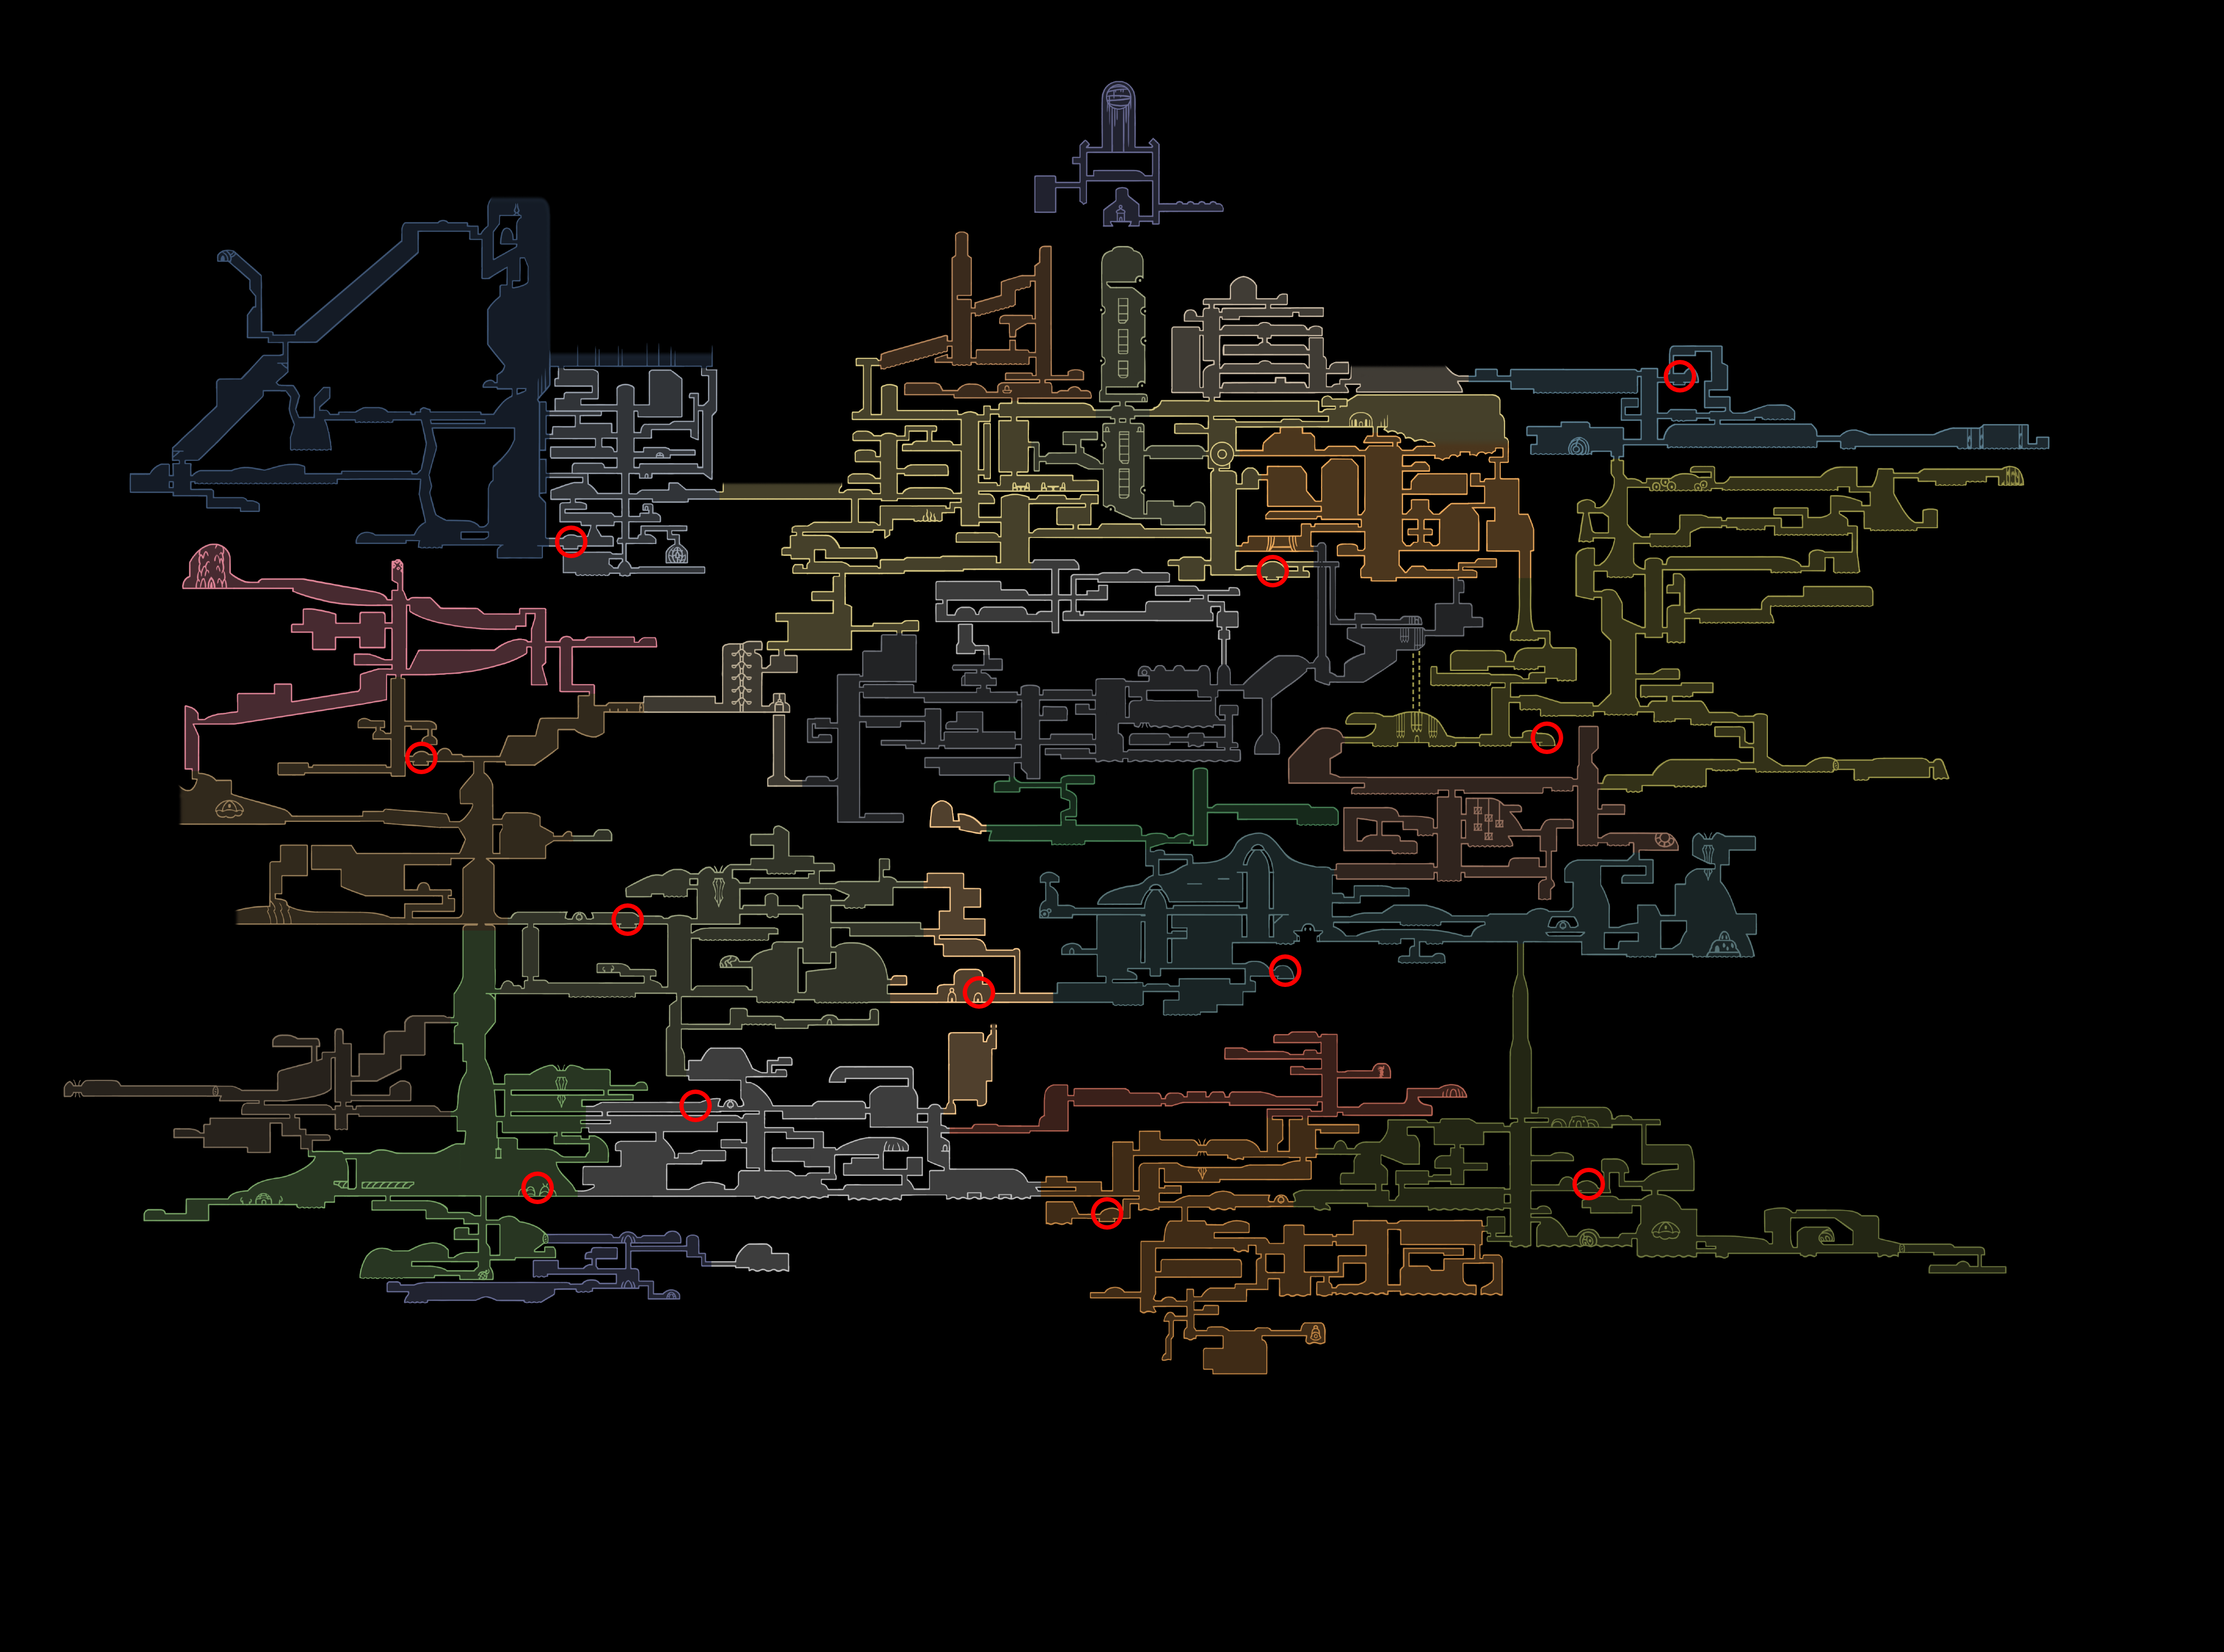
Full Pharloom map with twelve red rings marking documented Bellway stations
Bellway network map. Open full image. Visuals from Hollow Knight: Silksong © Team Cherry.

Each station below leads with a crop of the source network map. The red ring is the exact station marker; the adjacent arrival view gives you a second visual check. The labelled full area map remains available as an optional reference.

Bone Bottom — no activation cost

Cost: No activation cost after the Bell Beast is defeated.

On the full map, the ring sits in the lower-left green Mosslands layout, beside the compact lower rooms of Bone Bottom. Open the labelled Bone Bottom area map.
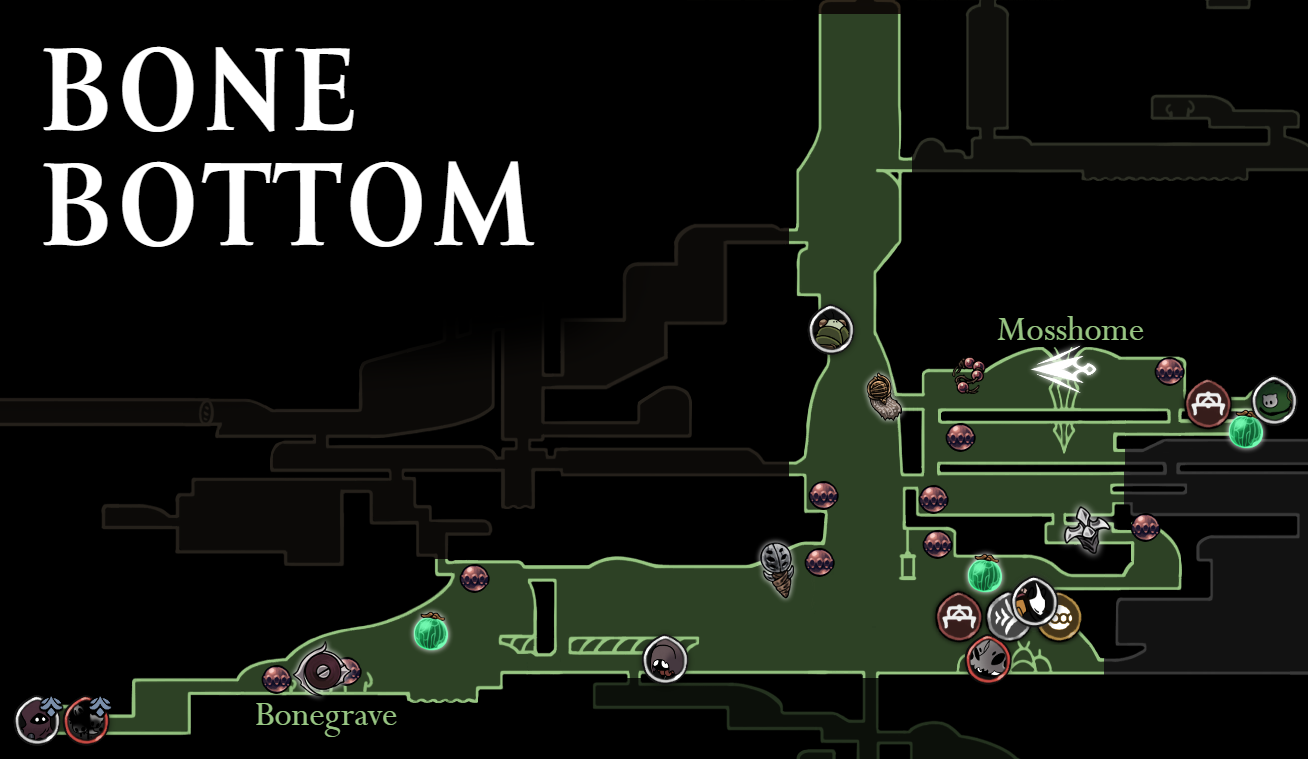
Bone Bottom Bellway marker, shown as a red ring in the lower-left green Mosslands map layout
Exact Bone Bottom marker in the source network map. Open full map.
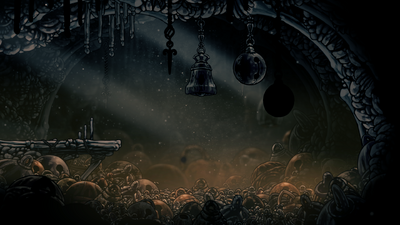
Arrival view of the Bone Bottom Bellway station
Bone Bottom Bellway arrival. Open full image.

The Marrow — no activation cost

Cost: No activation cost after the Bell Beast is defeated.

The ring is in the lower-left grey Marrow roads, below the long horizontal approach. It is distinct from The Slab's compact upper-left grey prison block. Open the labelled The Marrow area map.
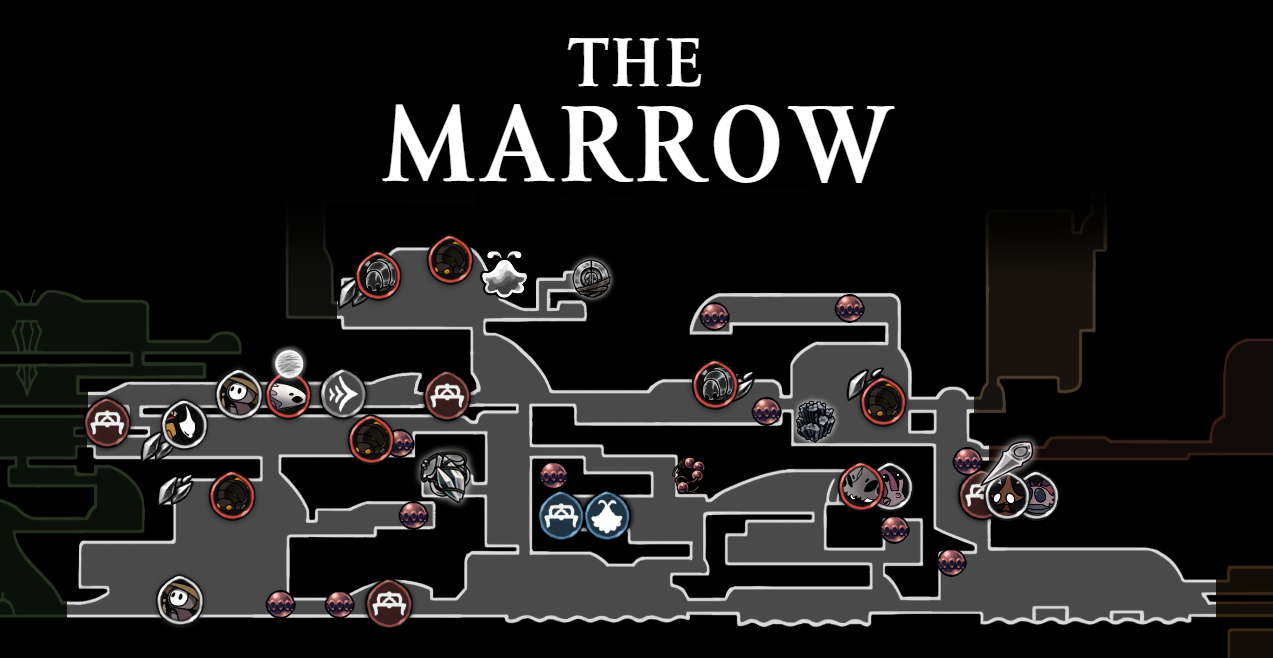
The Marrow Bellway marker, shown as a red ring in the lower-left grey road geometry
Exact The Marrow marker in the source network map. Open full map.
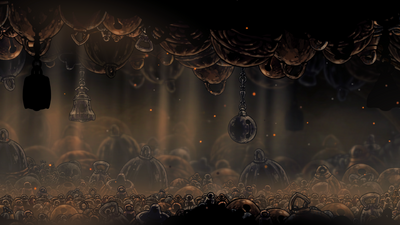
Bell Beast arena and arrival view at The Marrow Bellway station
The Marrow Bellway arrival. Open full image.

Deep Docks — 40 Rosaries

Cost: 40 Rosaries.

The ring lies in the orange forge-and-lava network, above its long lower run and southern rooms. Open the labelled Deep Docks area map.
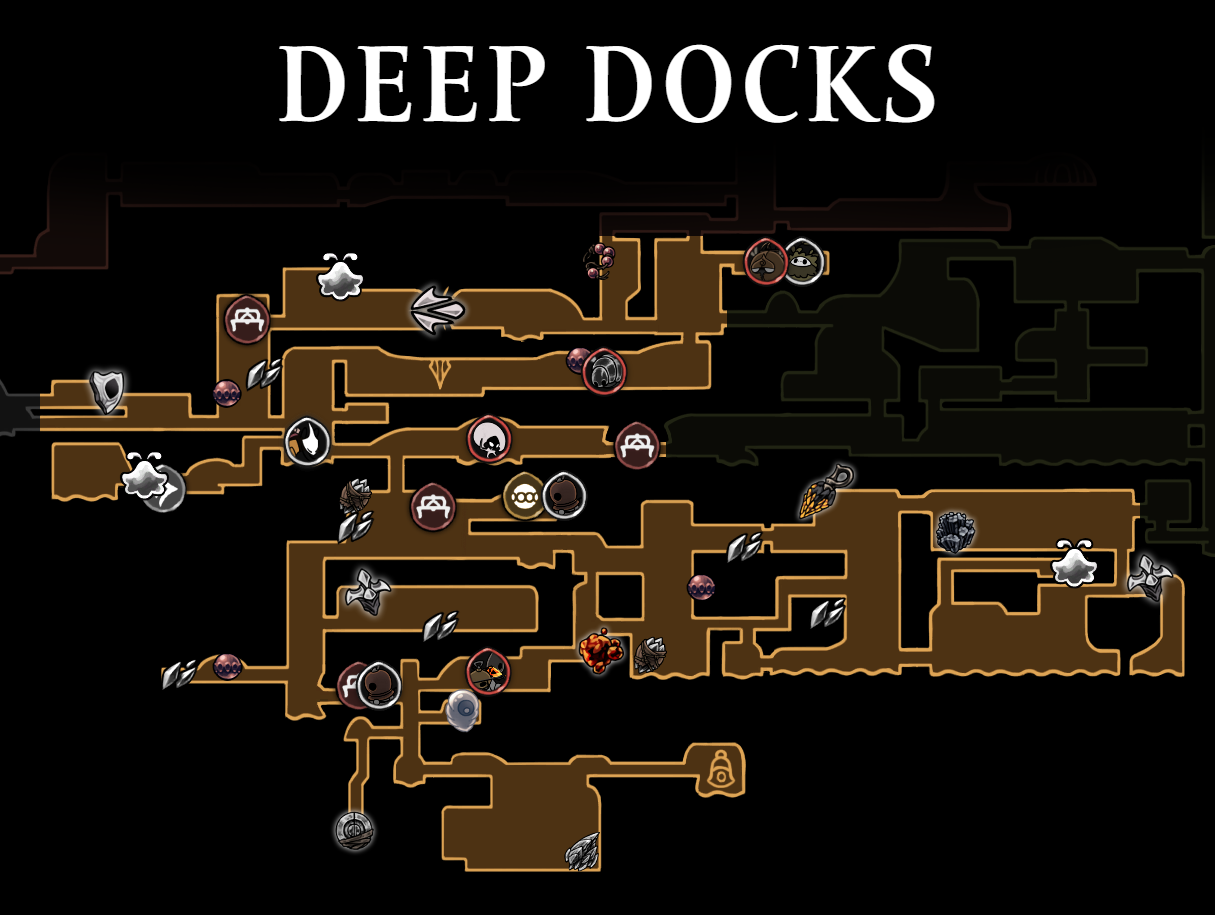
Deep Docks Bellway marker, shown as a red ring in the orange forge and lava map network
Exact Deep Docks marker in the source network map. Open full map.
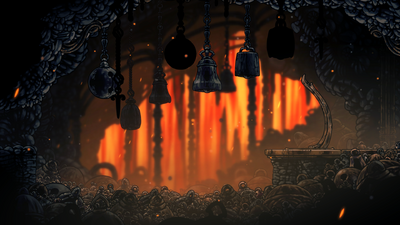
Arrival view of the Deep Docks Bellway station by the forge
Deep Docks Bellway arrival. Open full image.

Far Fields — 40 Rosaries

Cost: 40 Rosaries.

The ring is on the long olive-green field geometry, beside Pilgrim's Rest in the source map. Open the labelled Far Fields area map.
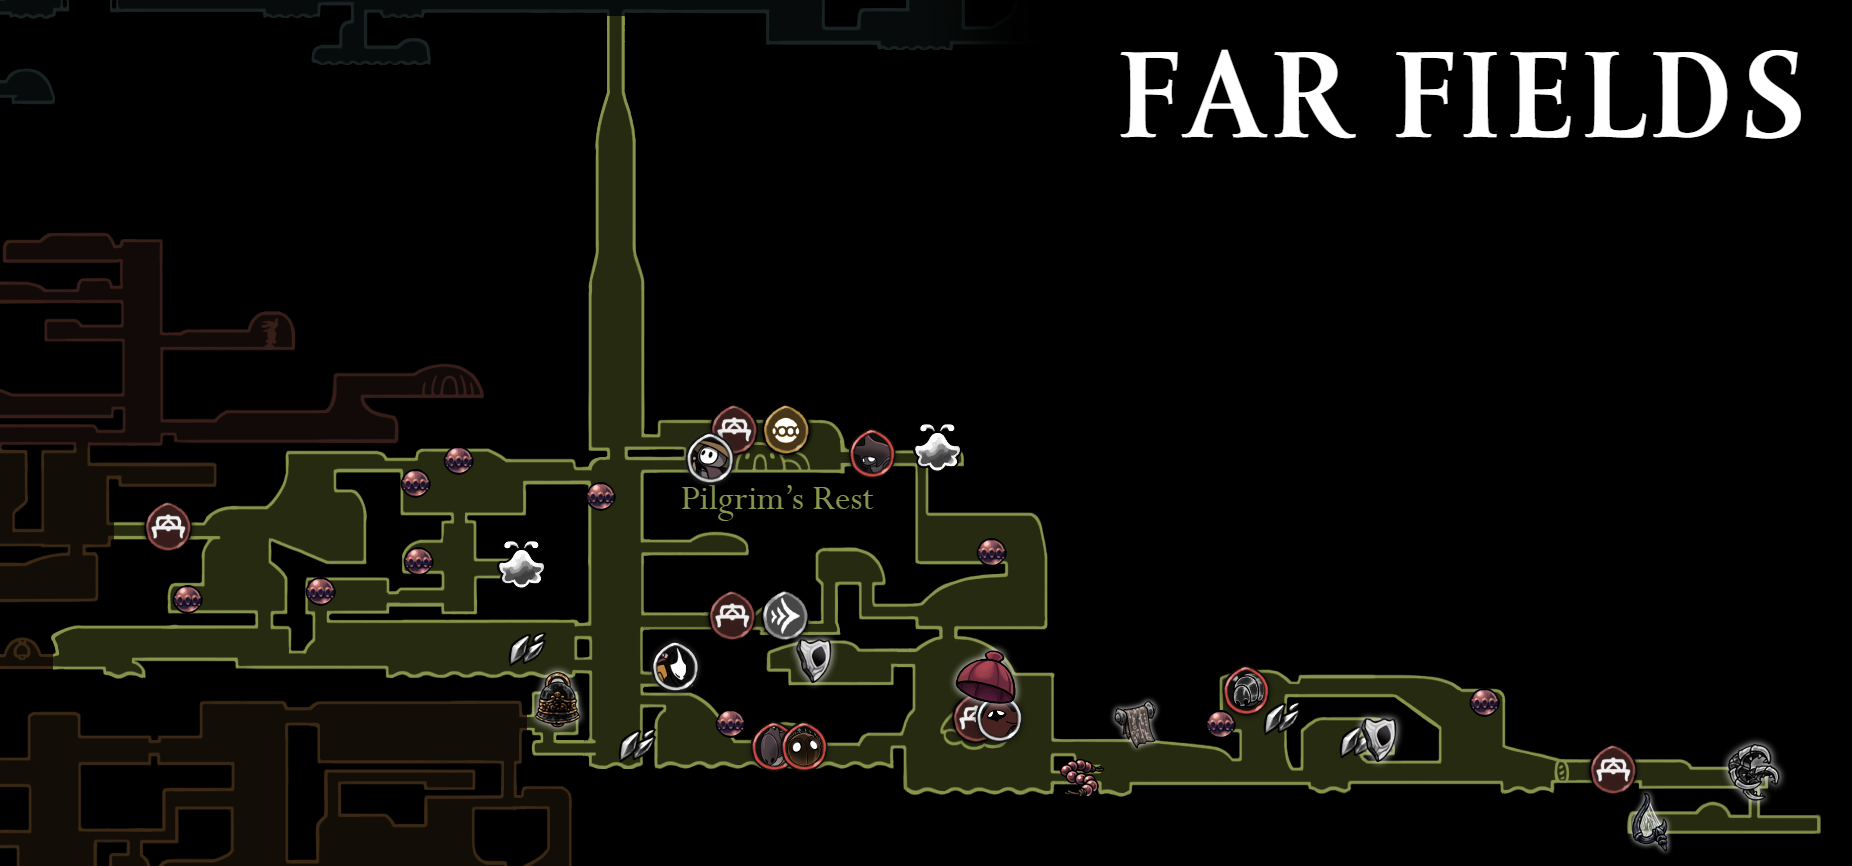
Far Fields Bellway marker, shown as a red ring on the long olive-green field geometry
Exact Far Fields marker in the source network map. Open full map.
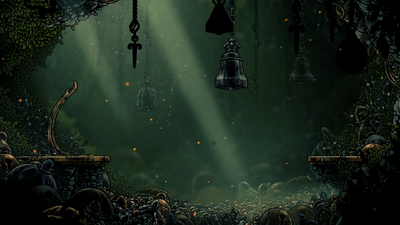
Arrival view of the Far Fields Bellway station
Far Fields Bellway arrival. Open full image.

Greymoor — 60 Rosaries

Cost: 60 Rosaries.

The ring sits in the broad teal Greymoor field and lake outline, above its long central horizontal passage. Open the labelled Greymoor area map.
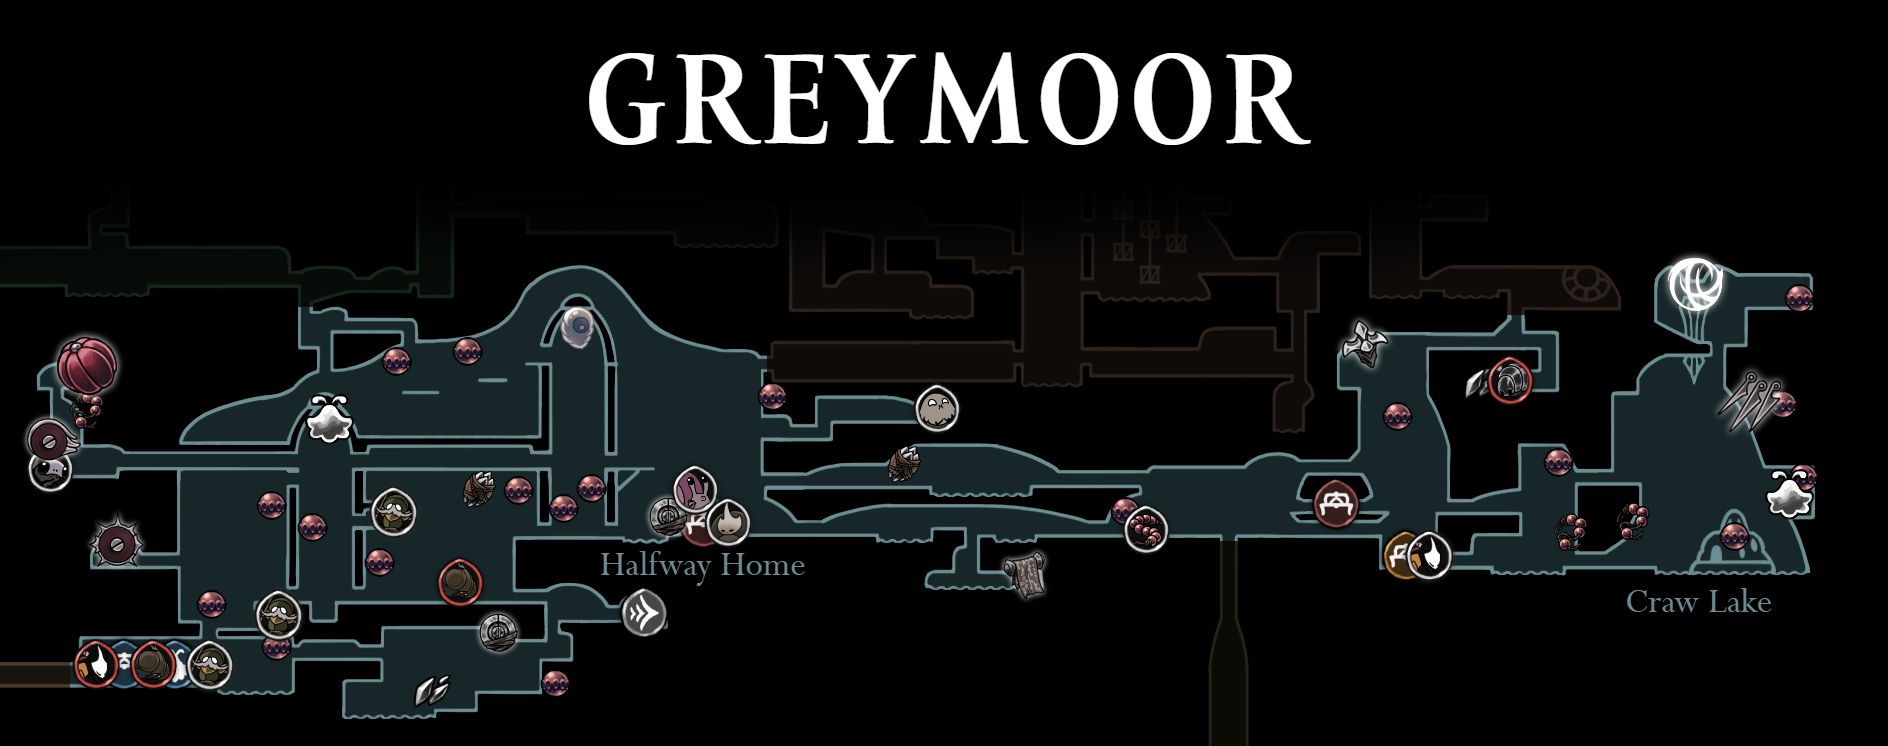
Greymoor Bellway marker, shown as a red ring in the teal field and lake map outline
Exact Greymoor marker in the source network map. Open full map.
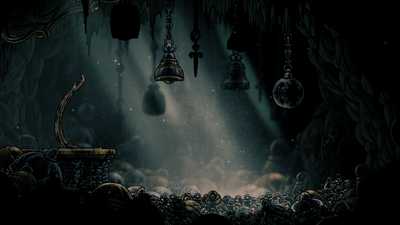
Rain-dark arrival view of the Greymoor Bellway station
Greymoor Bellway arrival. Open full image.

Bellhart — 60 Rosaries

Cost: 60 Rosaries.

The ring is inside Bellhart's narrow gold bellvein town block, next to its southward extension. Open the labelled Bellhart area map.
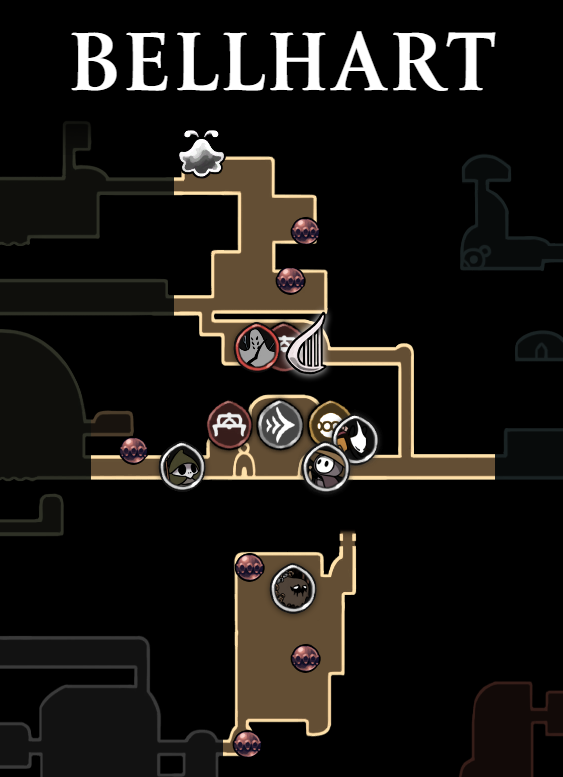
Bellhart Bellway marker, shown as a red ring in the narrow gold bellvein town block
Exact Bellhart marker in the source network map. Open full map.
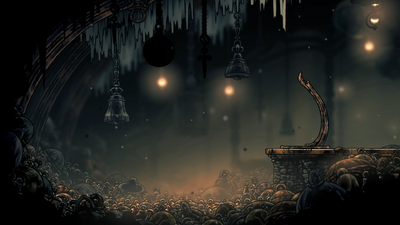
Arrival view of the Bellhart Bellway station
Bellhart Bellway arrival. Open full image.

Shellwood — 40 Rosaries

Cost: 40 Rosaries.

The ring appears in the pale-green forest corridors beside Shellwood's distinctive lower vertical shaft. Open the labelled Shellwood area map.
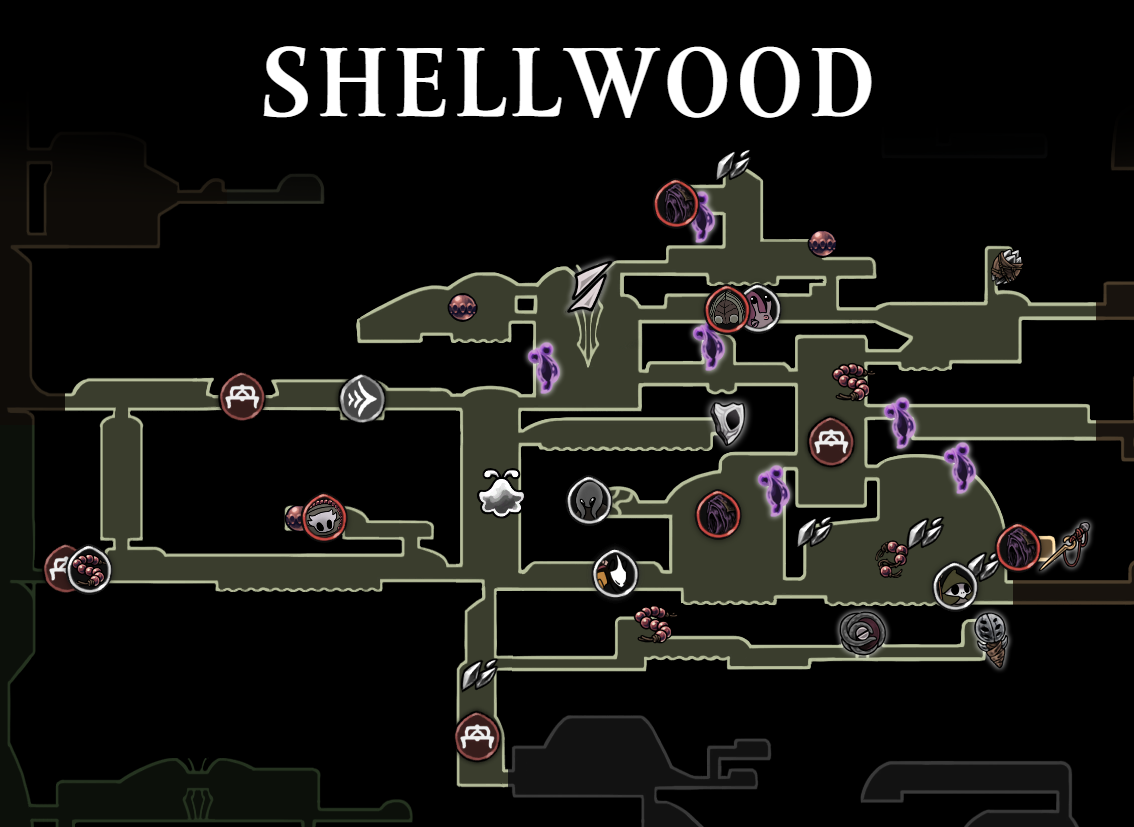
Shellwood Bellway marker, shown as a red ring in the pale-green forest corridors
Exact Shellwood marker in the source network map. Open full map.
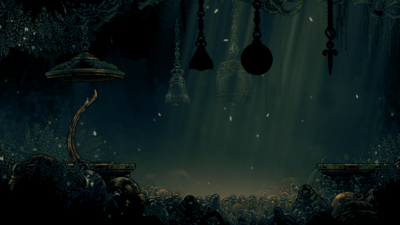
Arrival view of the Shellwood Bellway station
Shellwood Bellway arrival. Open full image.

Blasted Steps — 60 Rosaries

Cost: 60 Rosaries.

The ring sits in the western brown stepped cave geometry. Open the labelled Blasted Steps area map.
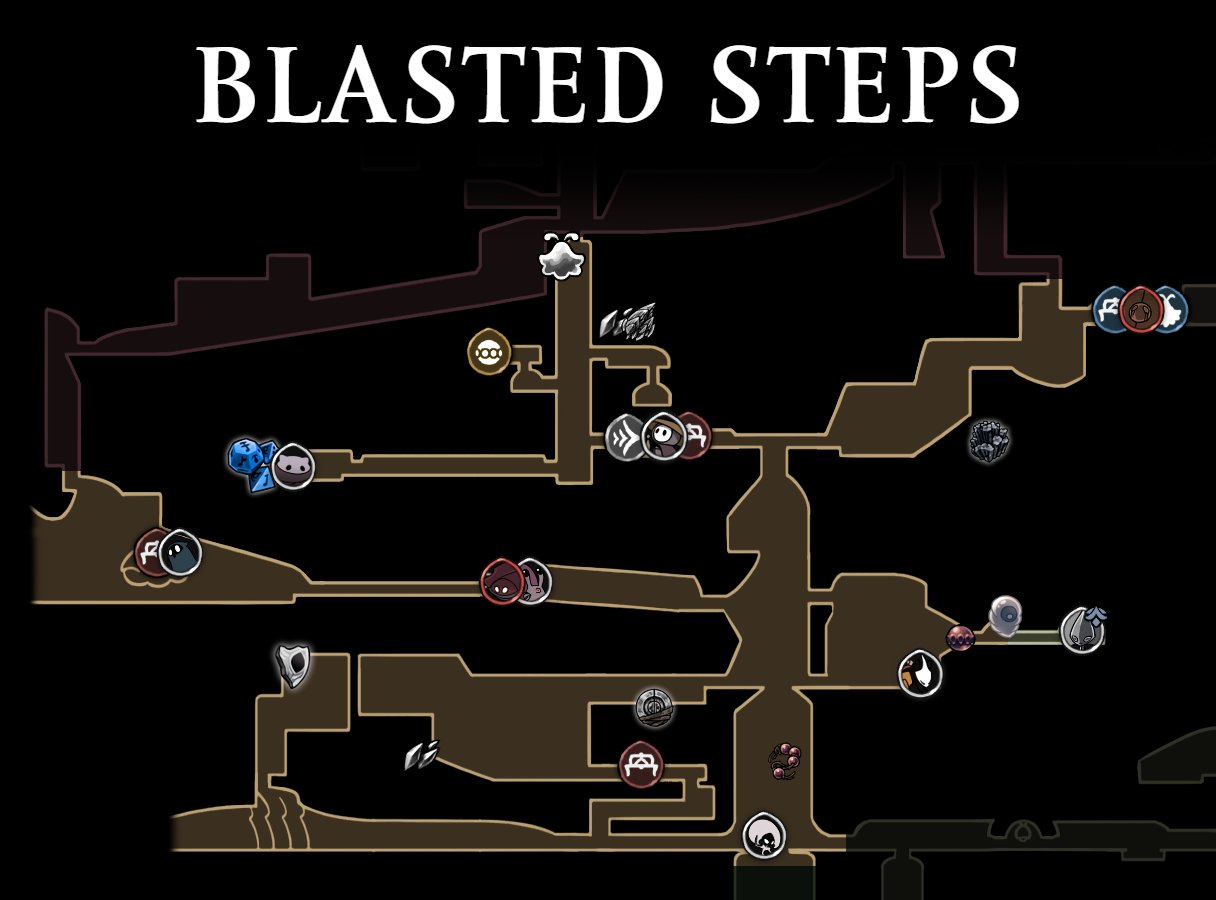
Blasted Steps Bellway marker, shown as a red ring in the western brown stepped cave geometry
Exact Blasted Steps marker in the source network map. Open full map.
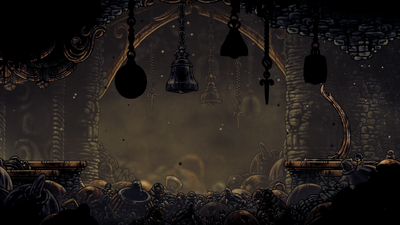
Arrival view of the Blasted Steps Bellway station
Blasted Steps Bellway arrival. Open full image.

The Slab — 40 Rosaries

Cost: 40 Rosaries.

The ring is in The Slab's compact upper-left grey prison block, below its long top corridor and dense stacked rooms. Open the labelled The Slab area map.
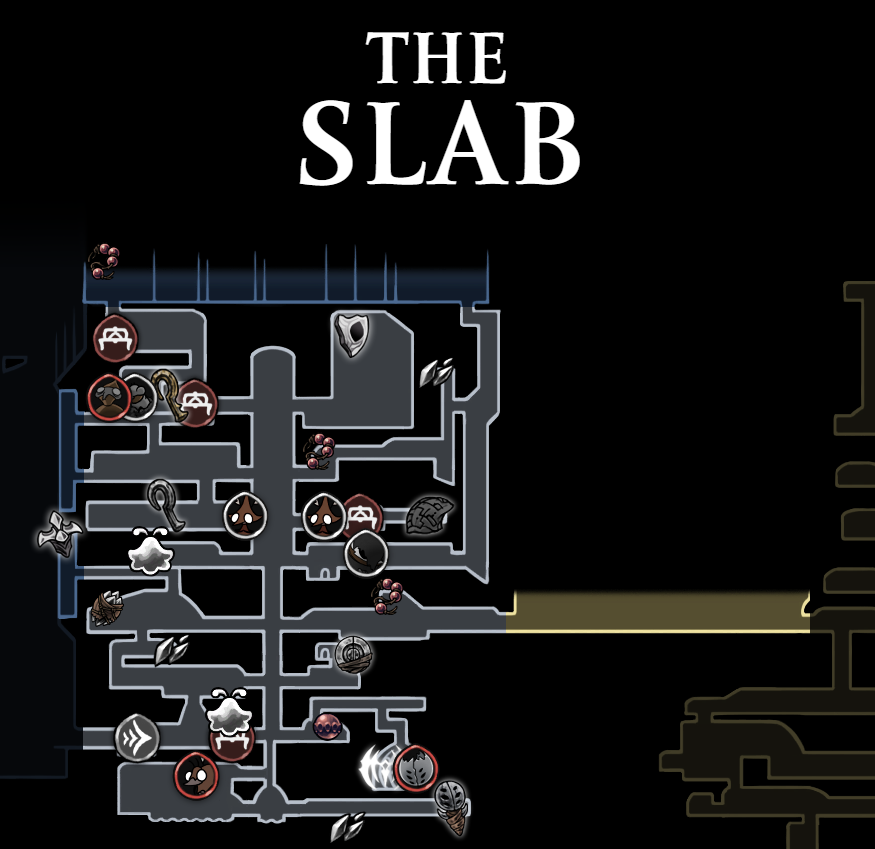
The Slab Bellway marker, shown as a red ring in the compact upper-left grey prison block
Exact The Slab marker in the source network map. Open full map.
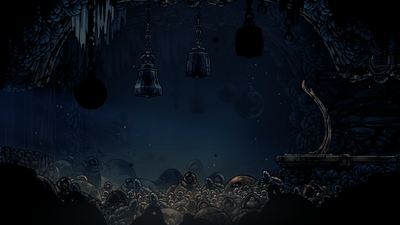
Arrival view of The Slab Bellway station
The Slab Bellway arrival. Open full image.

Grand Bellway — 80 Rosaries

Cost: 80 Rosaries.

The ring is embedded in the gold-and-olive Choral Chambers geometry labelled Grand Bellway. Open the labelled Grand Bellway area map.
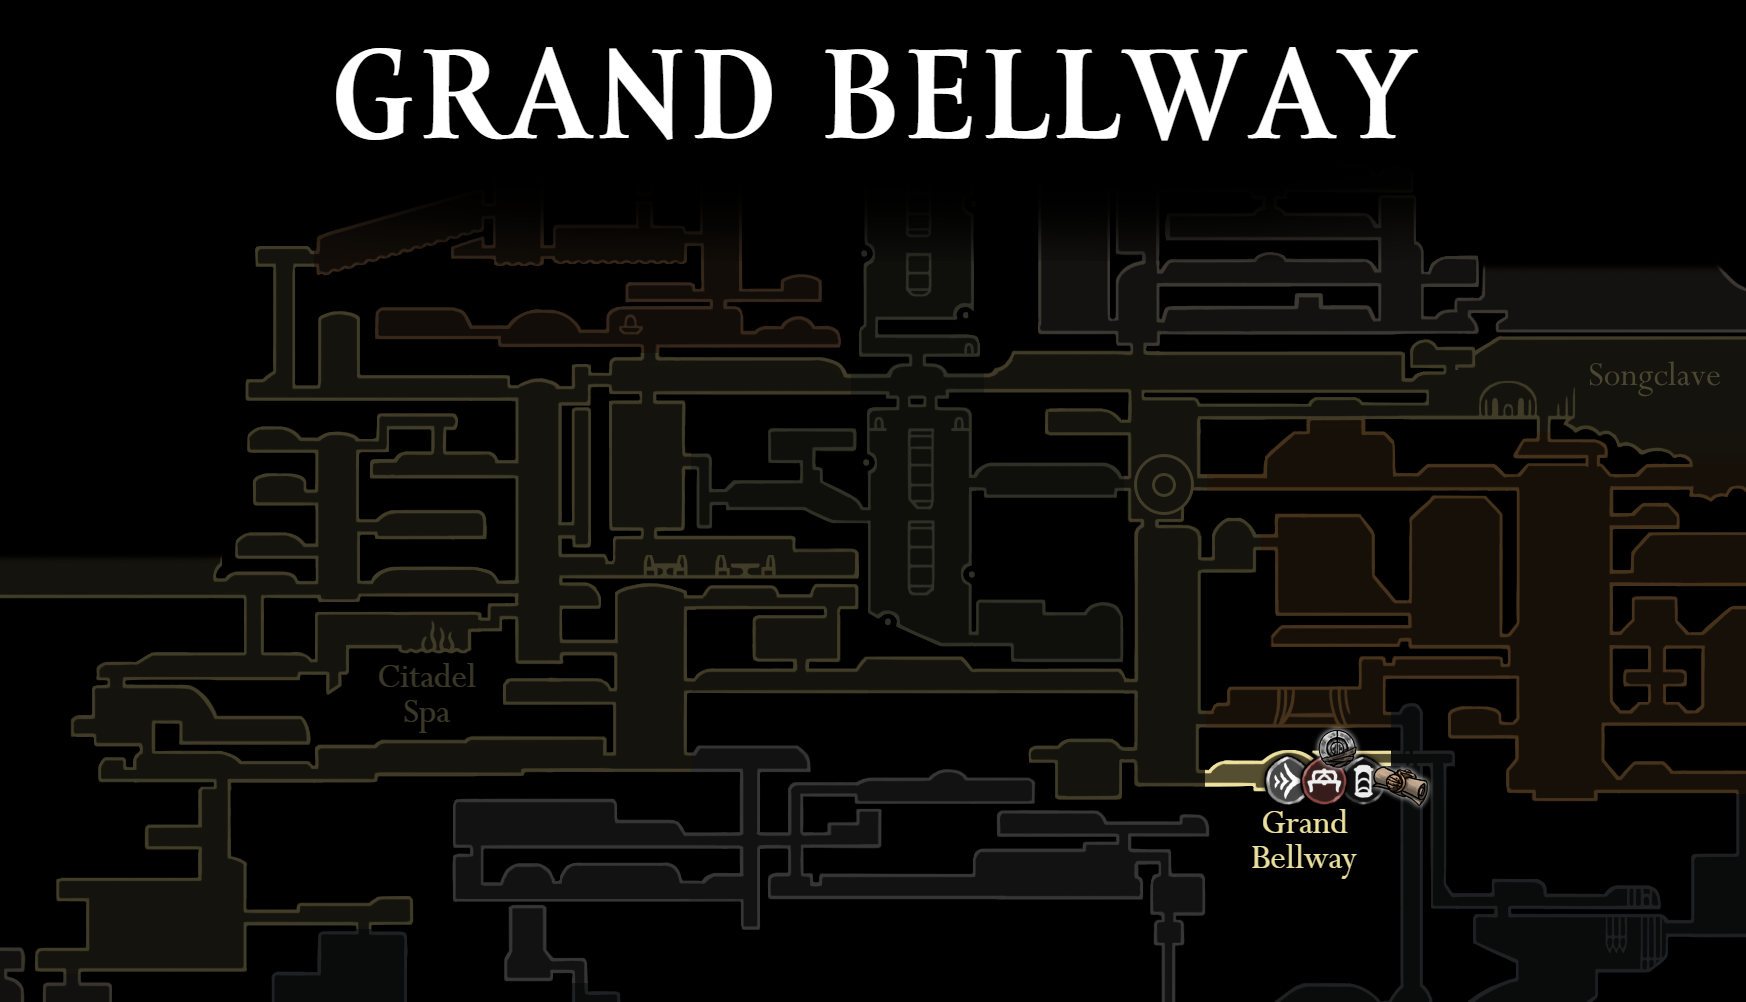
Grand Bellway marker, shown as a red ring in the gold and olive Choral Chambers map geometry
Exact Grand Bellway marker in the source network map. Open full map.
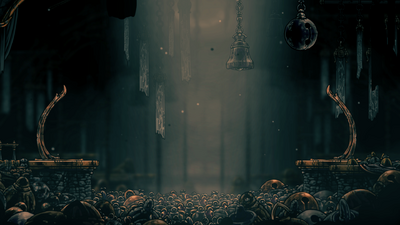
Arrival view of Grand Bellway in the Choral Chambers
Grand Bellway arrival. Open full image.

Bilewater — 80 Rosaries

Cost: 80 Rosaries.

The ring lies in the yellow-olive Bilewater byways, on the linked Bilehaven and Exhaust Organ geometry. Open the labelled Bilewater area map.
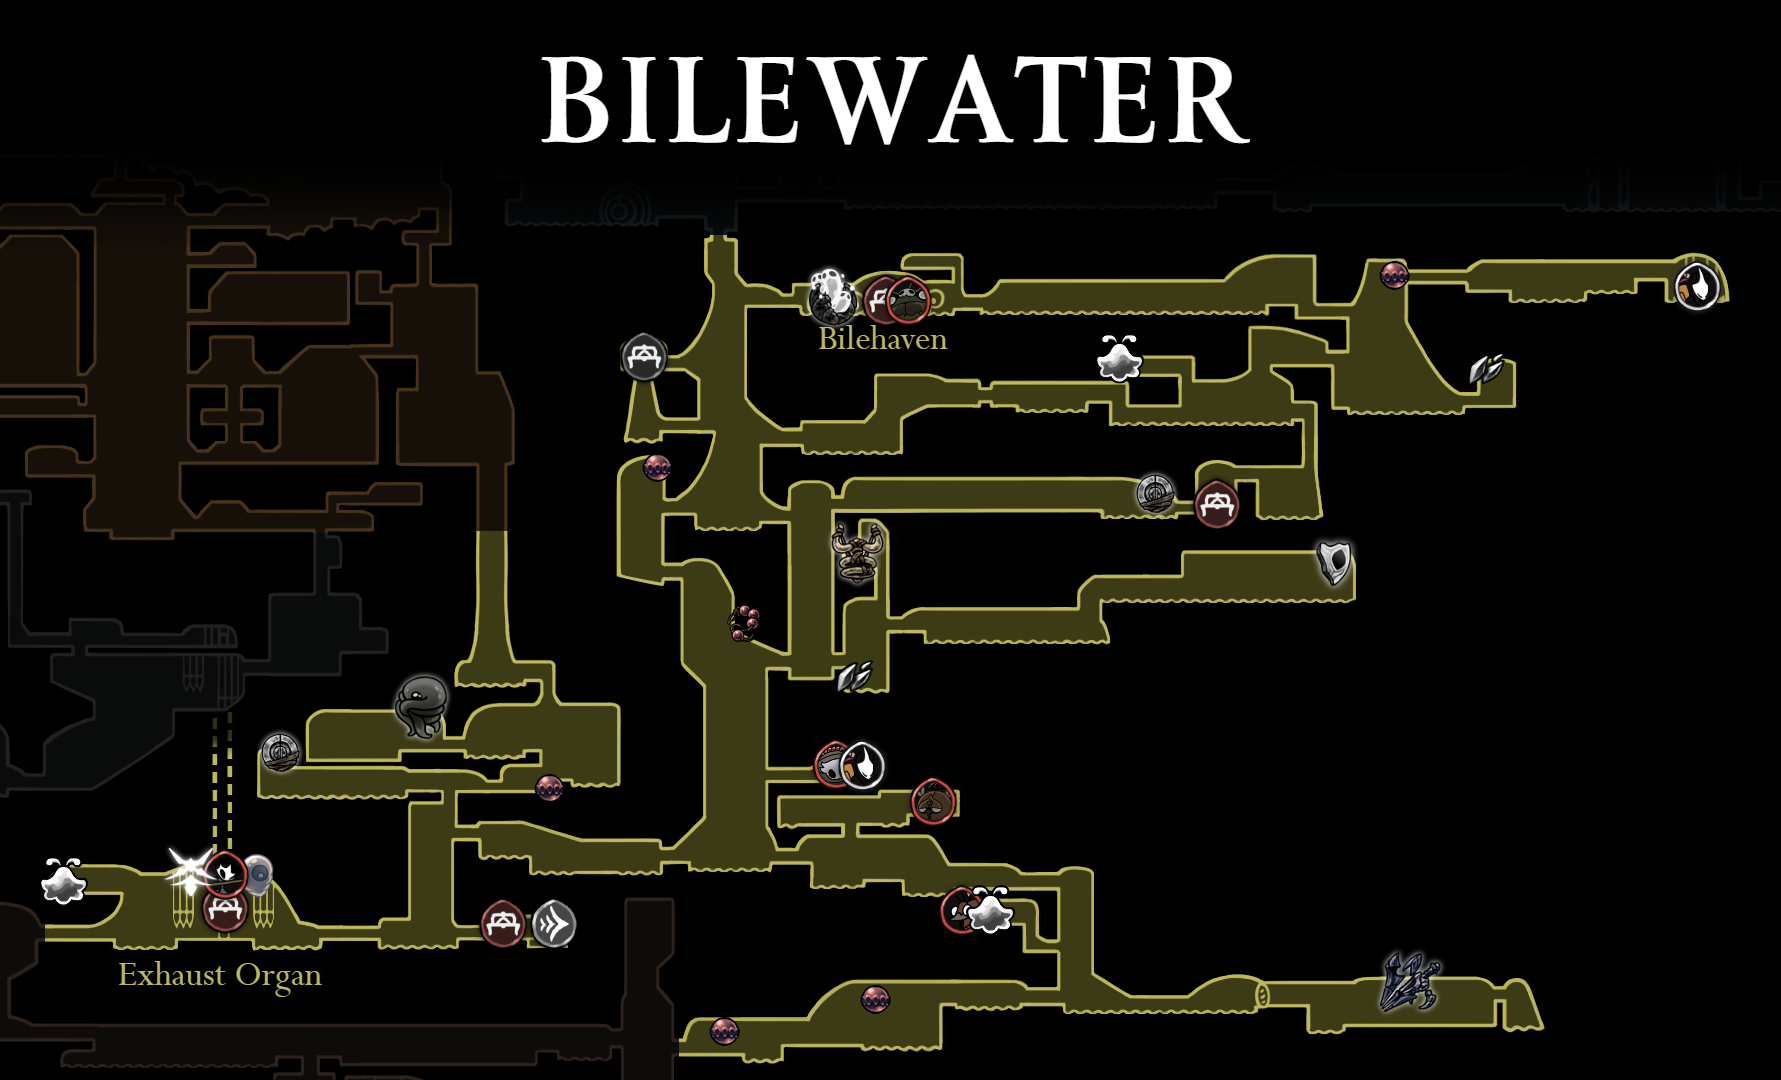
Bilewater Bellway marker, shown as a red ring in the yellow-olive byway geometry
Exact Bilewater marker in the source network map. Open full map.
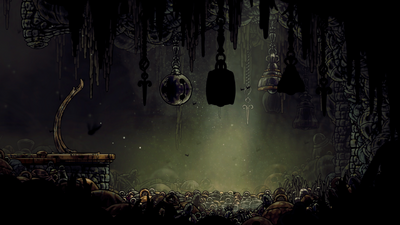
Arrival view of the Bilewater Bellway station
Bilewater Bellway arrival. Open full image.

Putrified Ducts — 80 Rosaries

Cost: 80 Rosaries.

The ring is on the isolated upper-right blue horizontal duct run. Open the labelled Putrified Ducts area map.
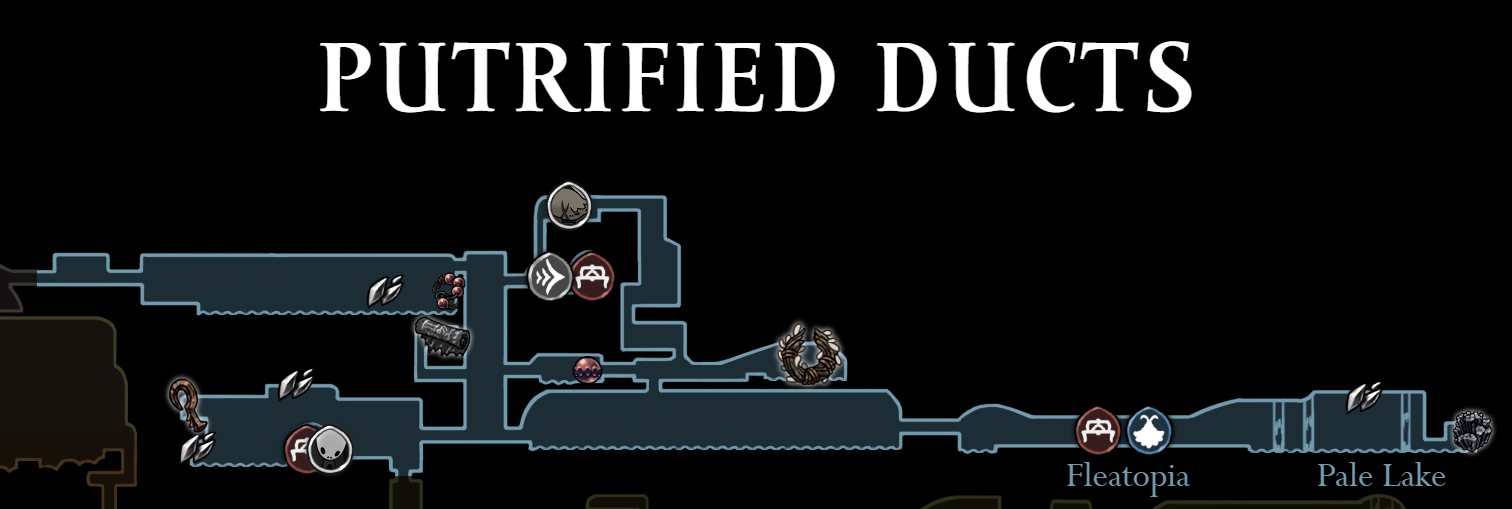
Putrified Ducts Bellway marker, shown as a red ring on the isolated upper-right blue duct run
Exact Putrified Ducts marker in the source network map. Open full map.
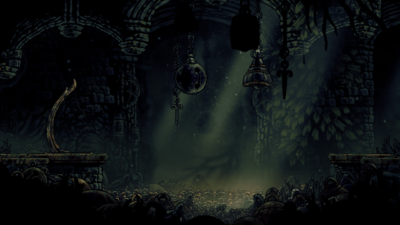
Arrival view of the Putrified Ducts Bellway station
Putrified Ducts Bellway arrival. Open full image.

Credits

Station maps and arrival screenshots are credited to Hollow Knight: Silksong © Team Cherry. This guide’s text, arrangement, labels, and accessibility descriptions are original V4mp editorial work.

Video guide

More Hollow Knight: Silksong guides

Browse every Hollow Knight: Silksong guide